- Published on
Get started with Instagram API: The Setup
Note: This article was updated on 6 March 2024 to remove references to functionality that Superface no longer offers. The steps outlined below for setting up your account to use the Instagram API are still valid but Superface does not offer features related to this.
Instagram Graph API is Facebook's official way to access Instagram from your application. The API allows you to manage your account, publish content, and access some public data from Instagram, but only a subset of features is available compared to Instagram's official applications.
That's no coincidence. Facebook severely restricted its APIs after the Cambridge Analytica scandal. Instagram Graph API was designed with these privacy concerns in mind, replacing former Instagram API which was much more open.
Some design decisions and limitations around Instagram Graph API are so confusing, developers often ask how to perform even basic tasks. For example, how to get access to the API for their account, or figure out the correct account ID. I've answered numerous questions like this, which led me to start this series.
This is a first dive into Instagram Graph API, covering the initial prerequisites: creating an Instagram business account and setting up a Facebook app. In the next article I will cover how to get an access token and basic information about Instagram account, including the business account ID required for further interactions. In future posts, I will cover authorization in Node.js, content publishing, and retrieval of posts and comments.
Pair Instagram account with Facebook Page
Instagram Graph API can be used only by “Instagram Professional accounts” – this includes Business accounts (intended for companies), and Creator accounts (intended for individuals, like influencers). The good news is you don't need to pay anything for a Professional account.
Before you proceed, you need three things:
- A Facebook account (can be your personal)
- A Facebook page – ideally a dedicated testing page, so create one now
- An Instagram account – ideally a dedicated account for testing (sign up for one)
For development purposes, we will need to turn the Instagram account into a Business account and pair it with the Facebook page.
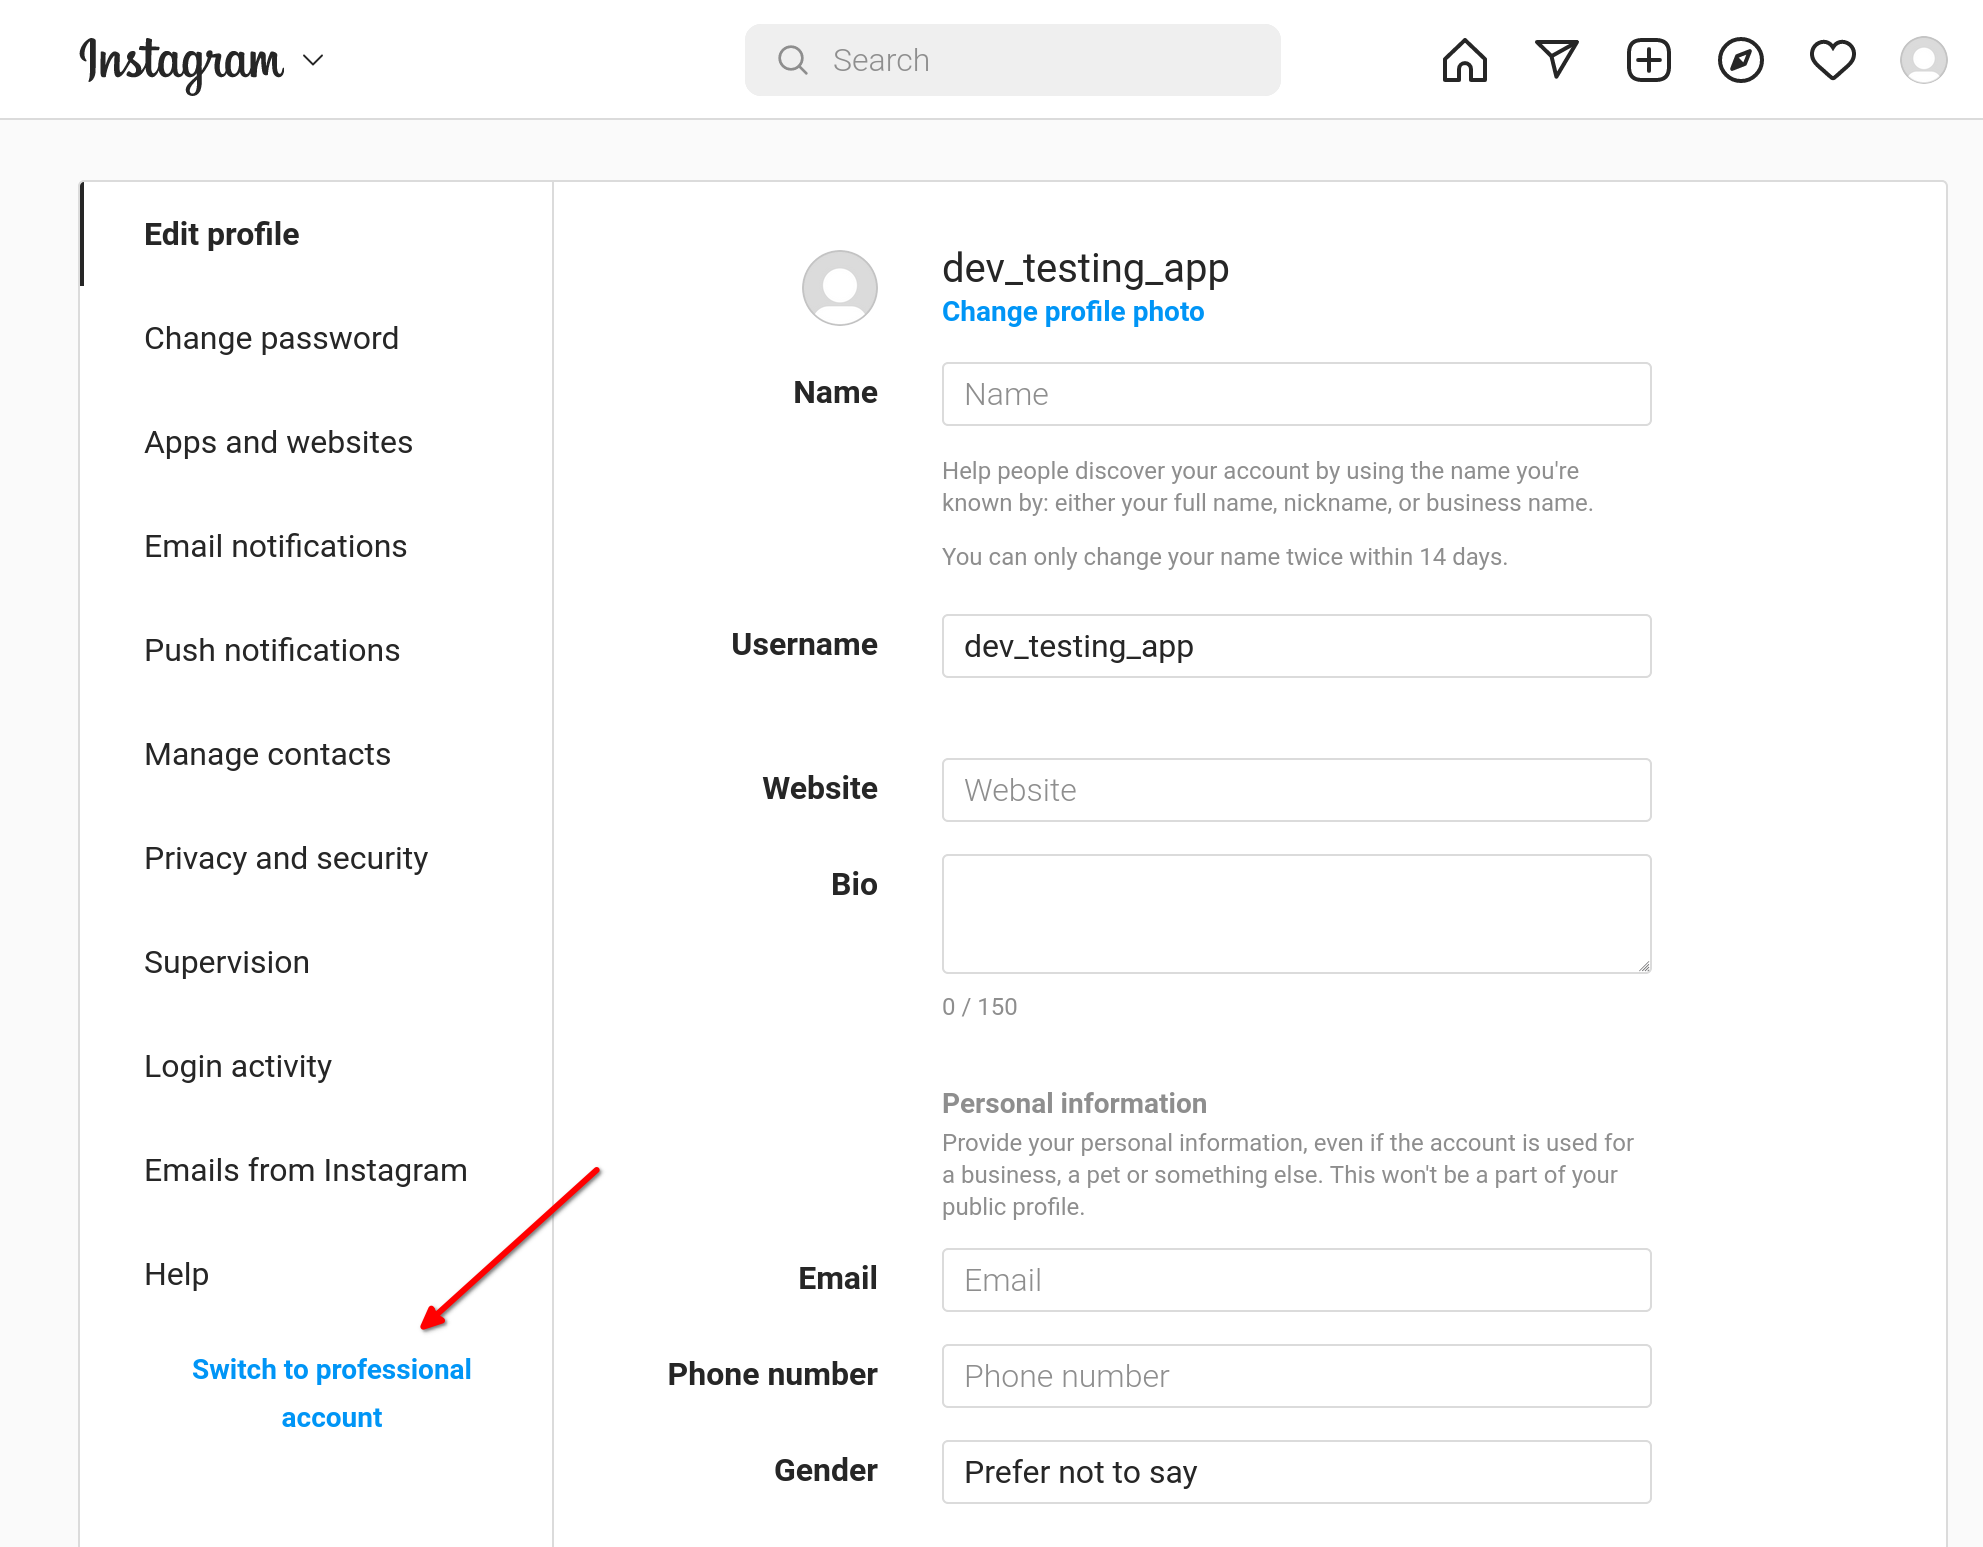
Once you log into your Instagram account, go to account settings. Here, click “Switch to professional account”.
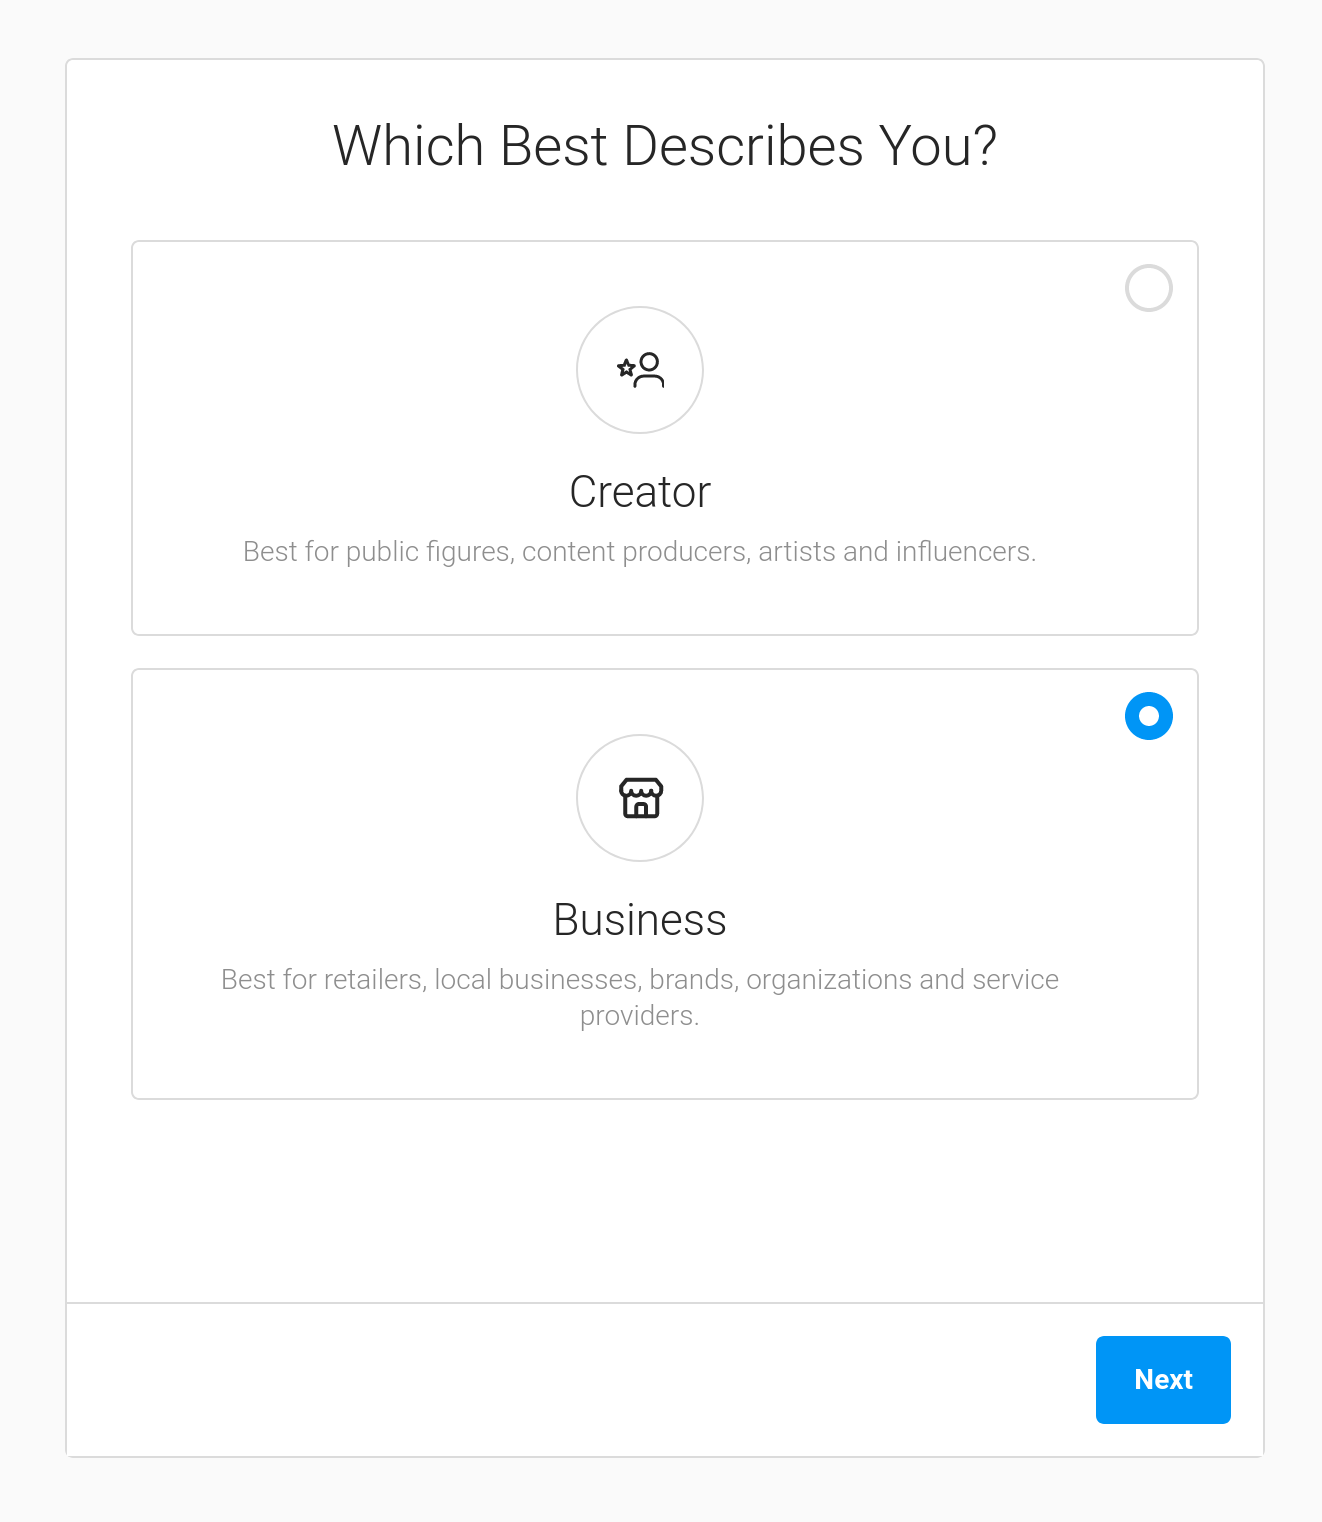
You have two options: Creator and Business. Select Business, pick a category (can be anything) and skip the step to add contact information.
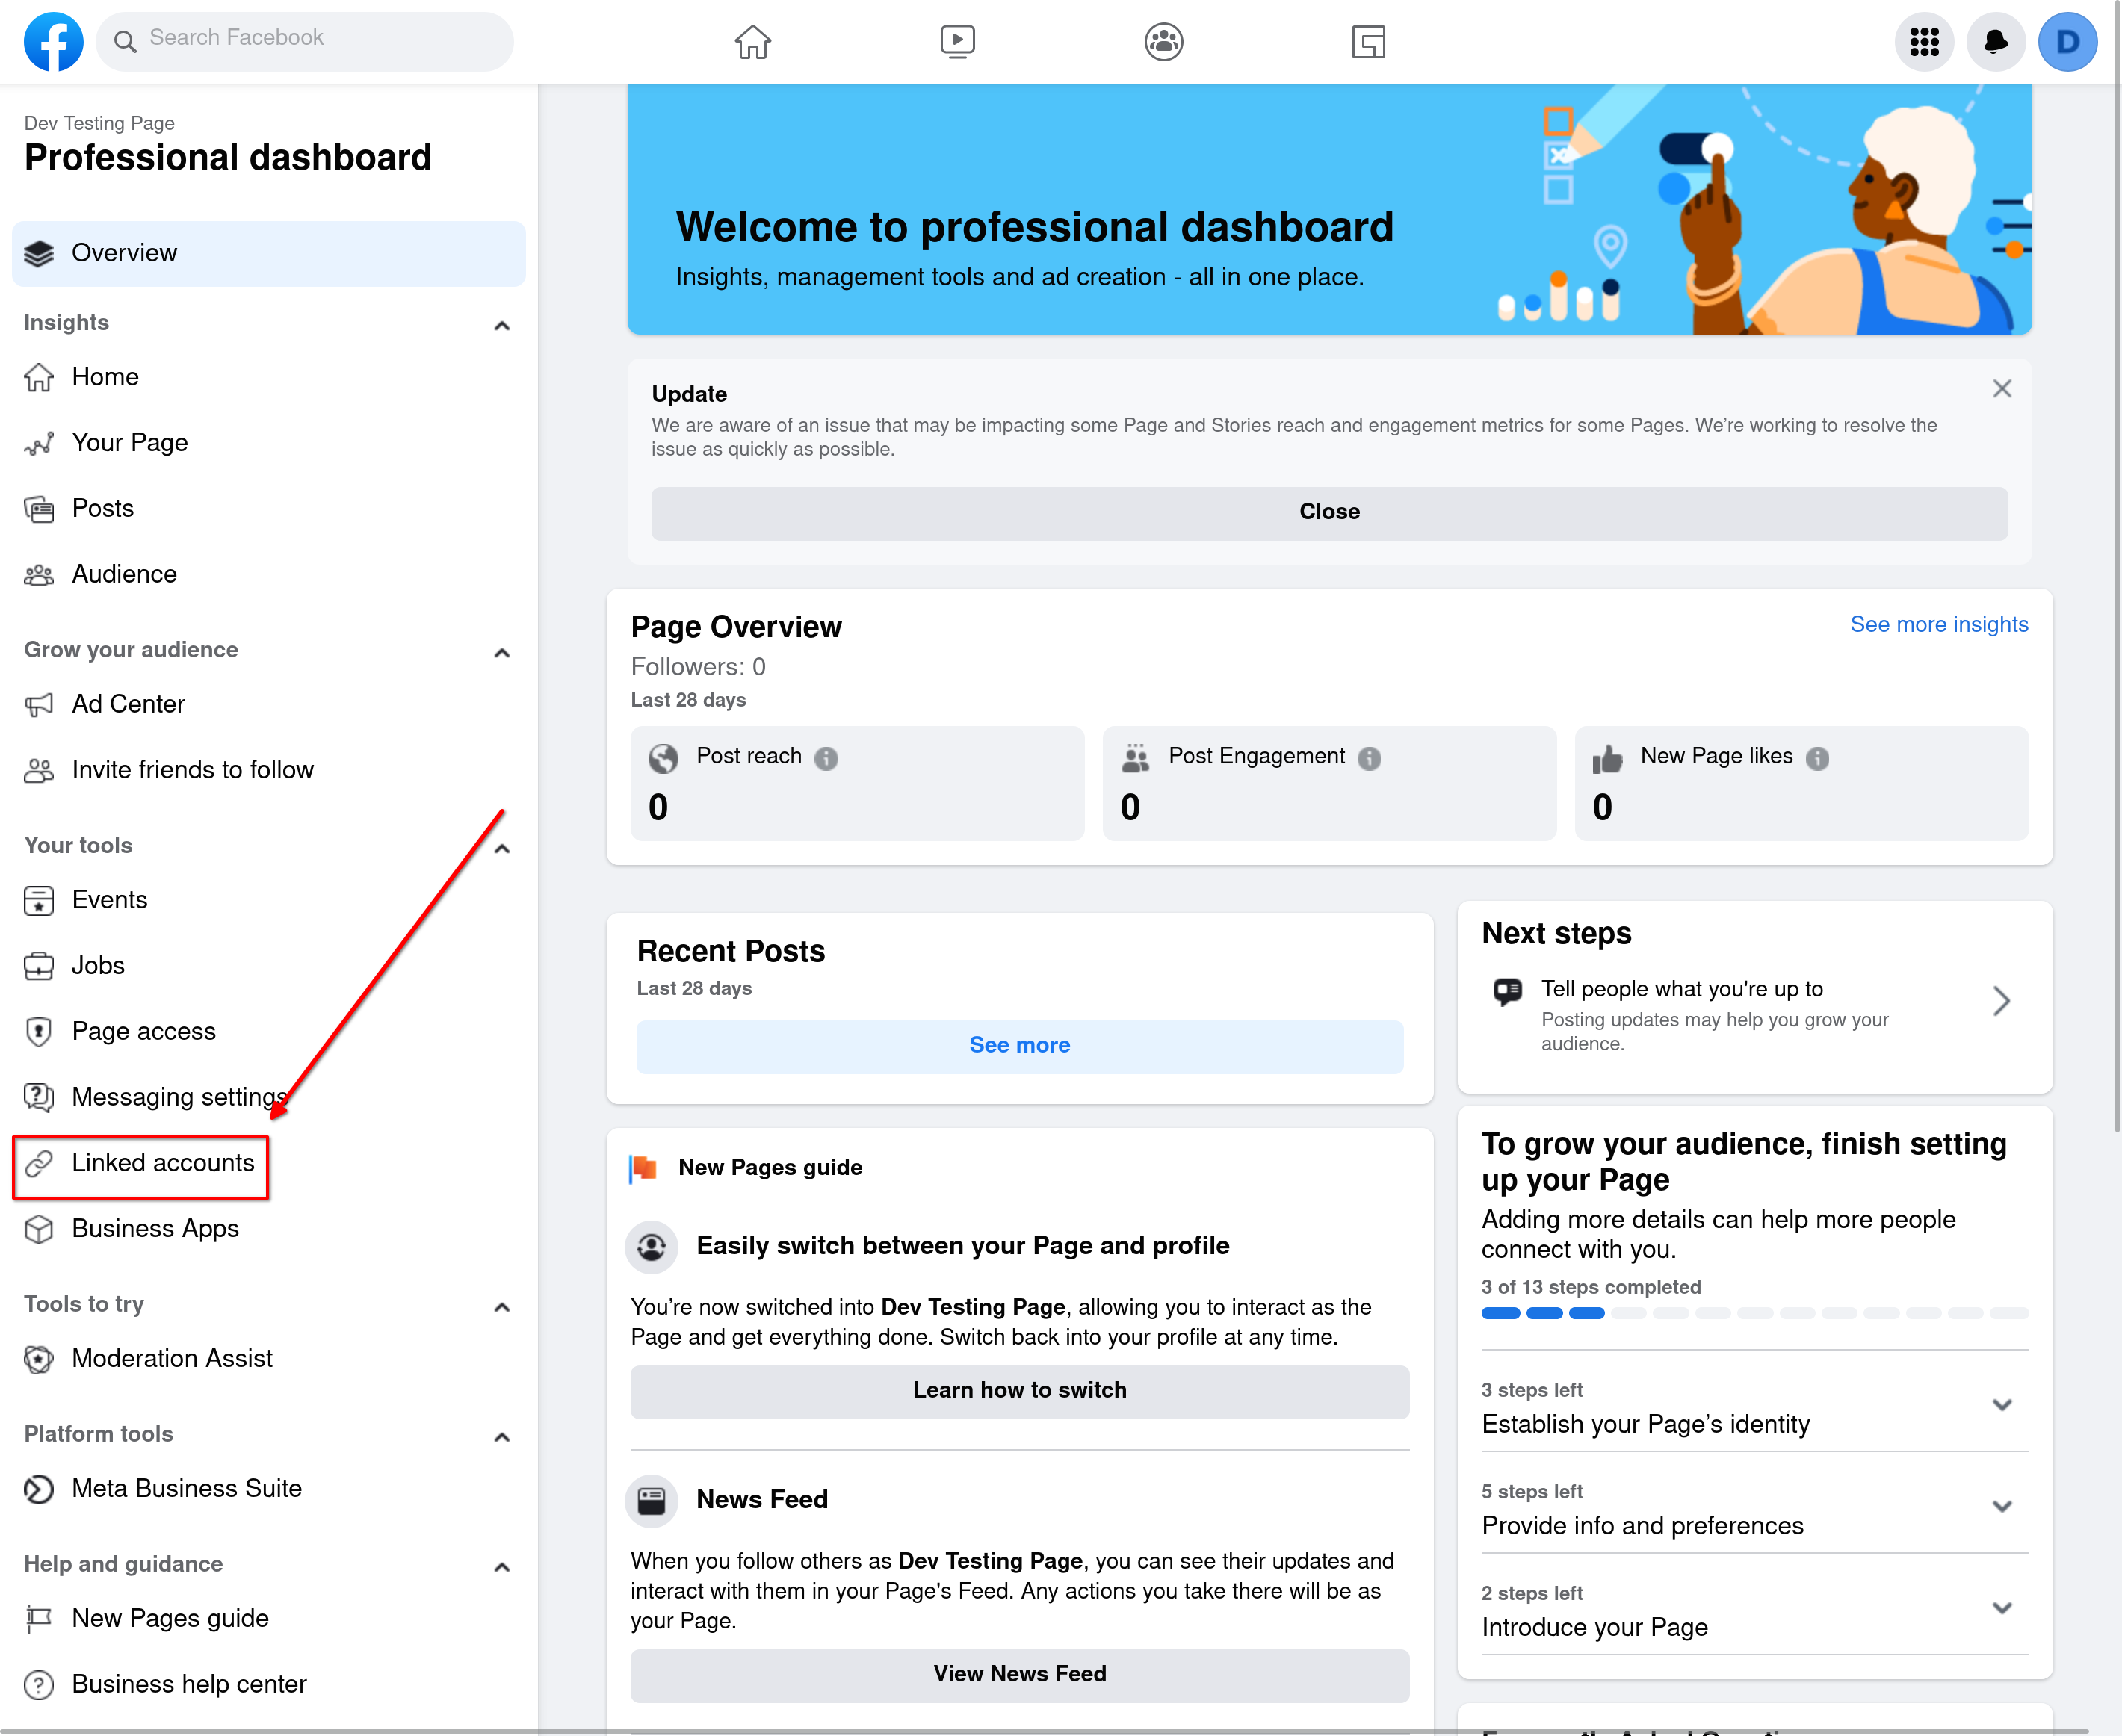
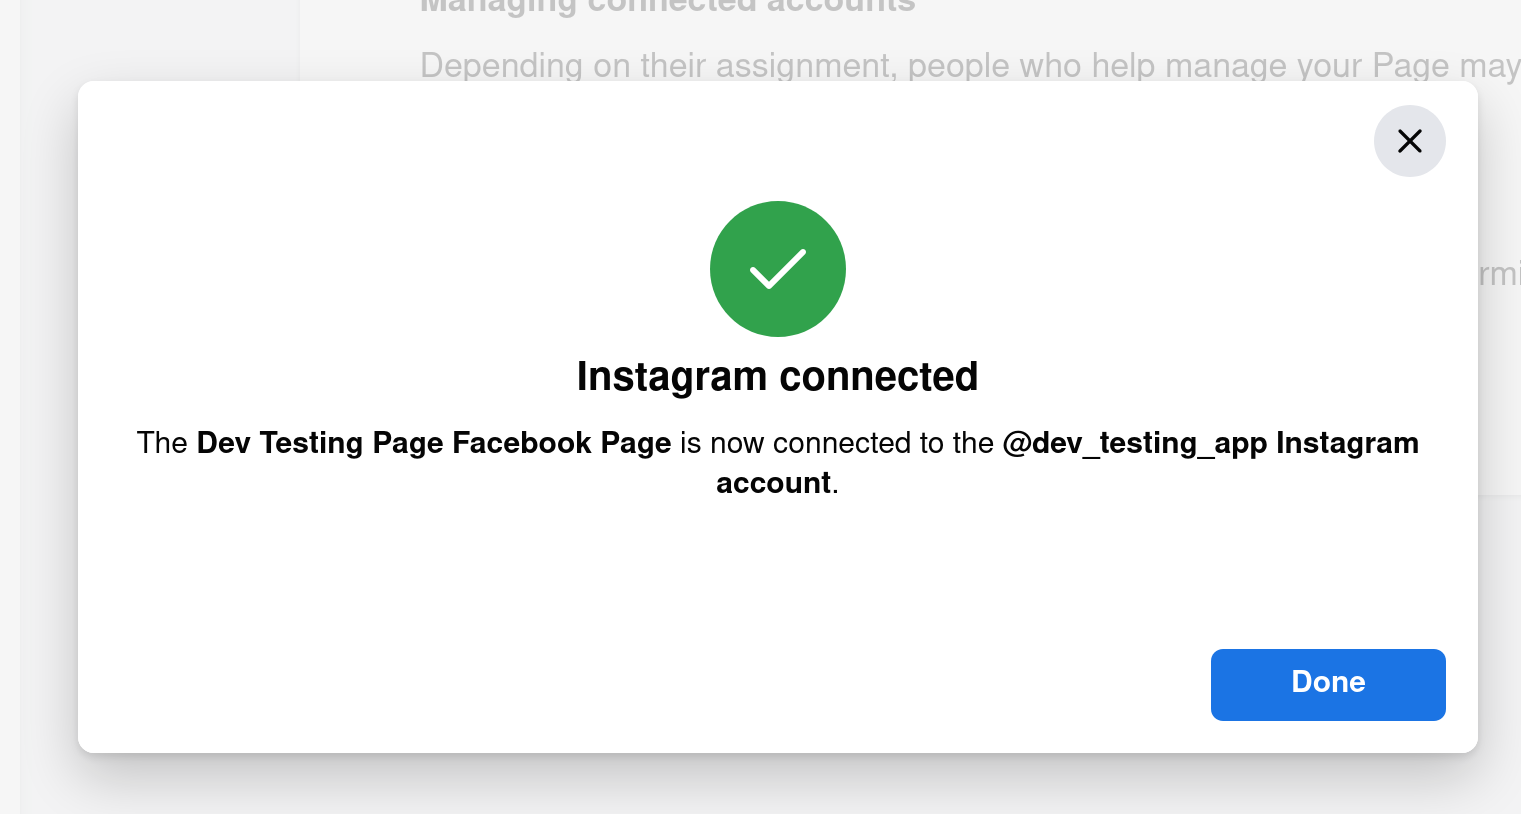
Next, on the Facebook side, go to your Facebook page's settings. On “Professional dashboard” select “Linked Accounts” and you should see a button to “Connect account” from Instagram.
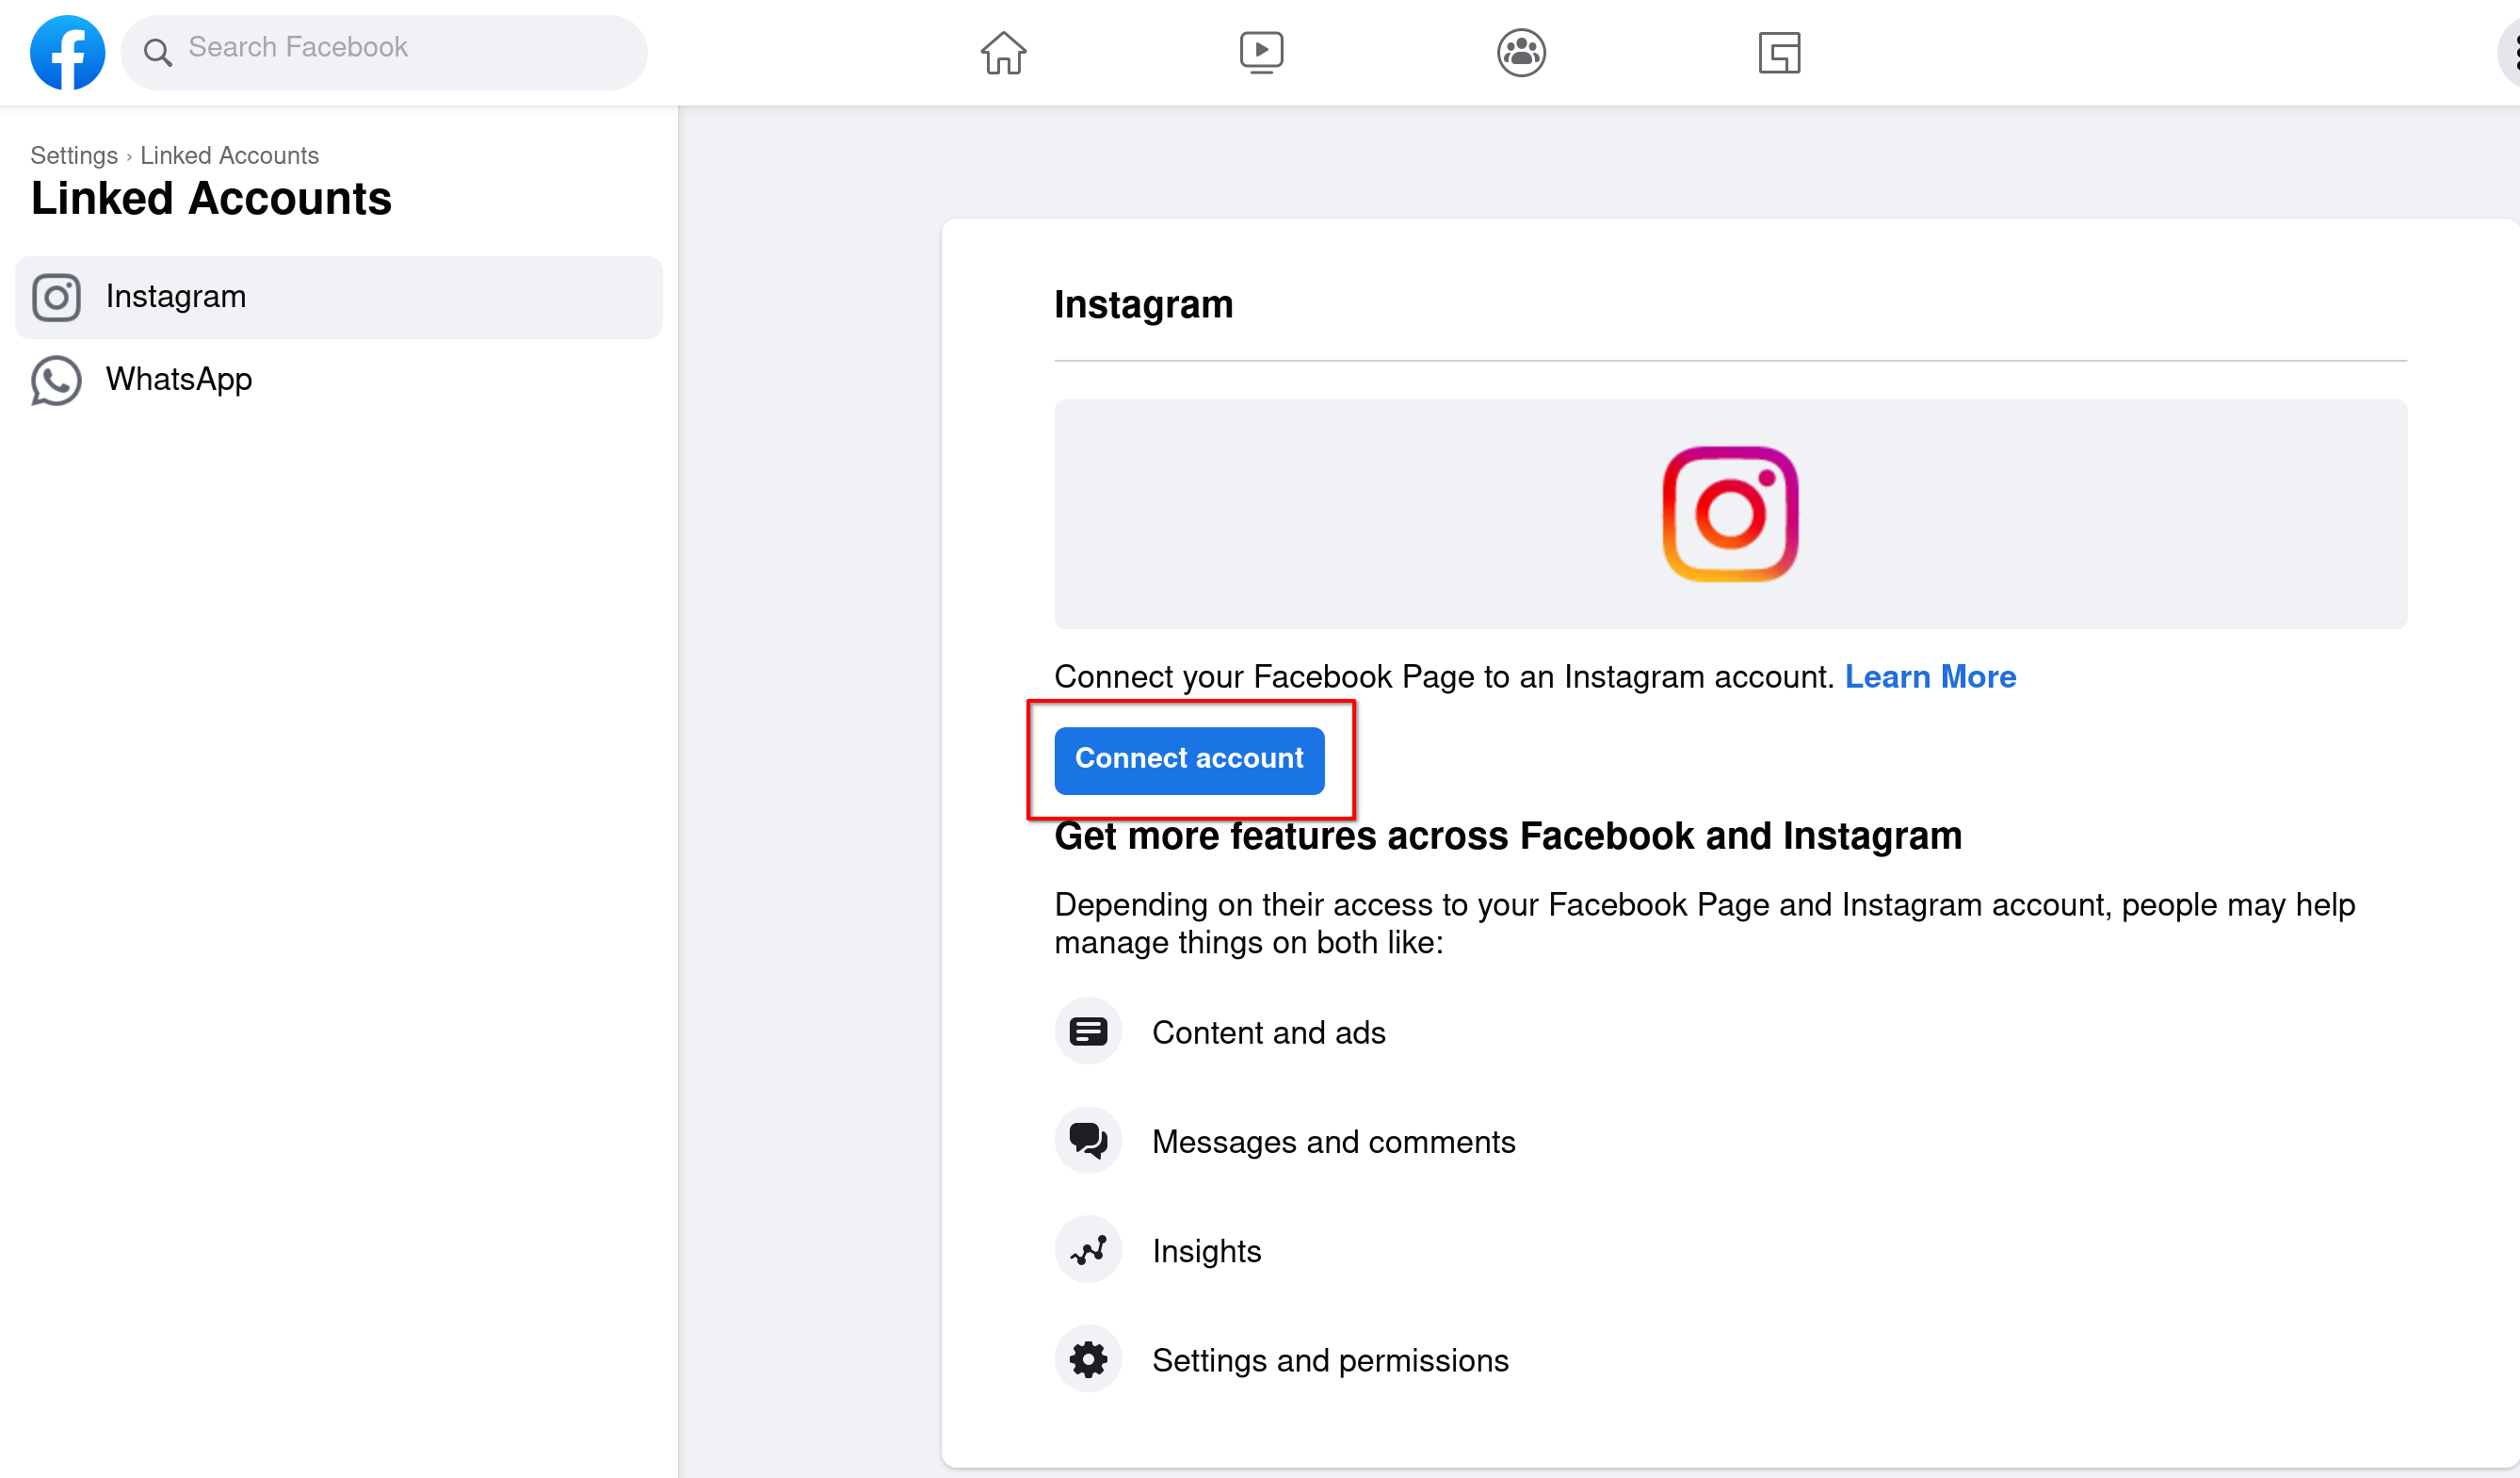
This will show you a pop-up to enter Instagram credentials, and once you log in, you should see a success message.
Create a Facebook application
Next, we will need to create a Facebook app. Visit My apps on Facebook Meta for Developers site and click “Create App”. This will take you to app type selection.
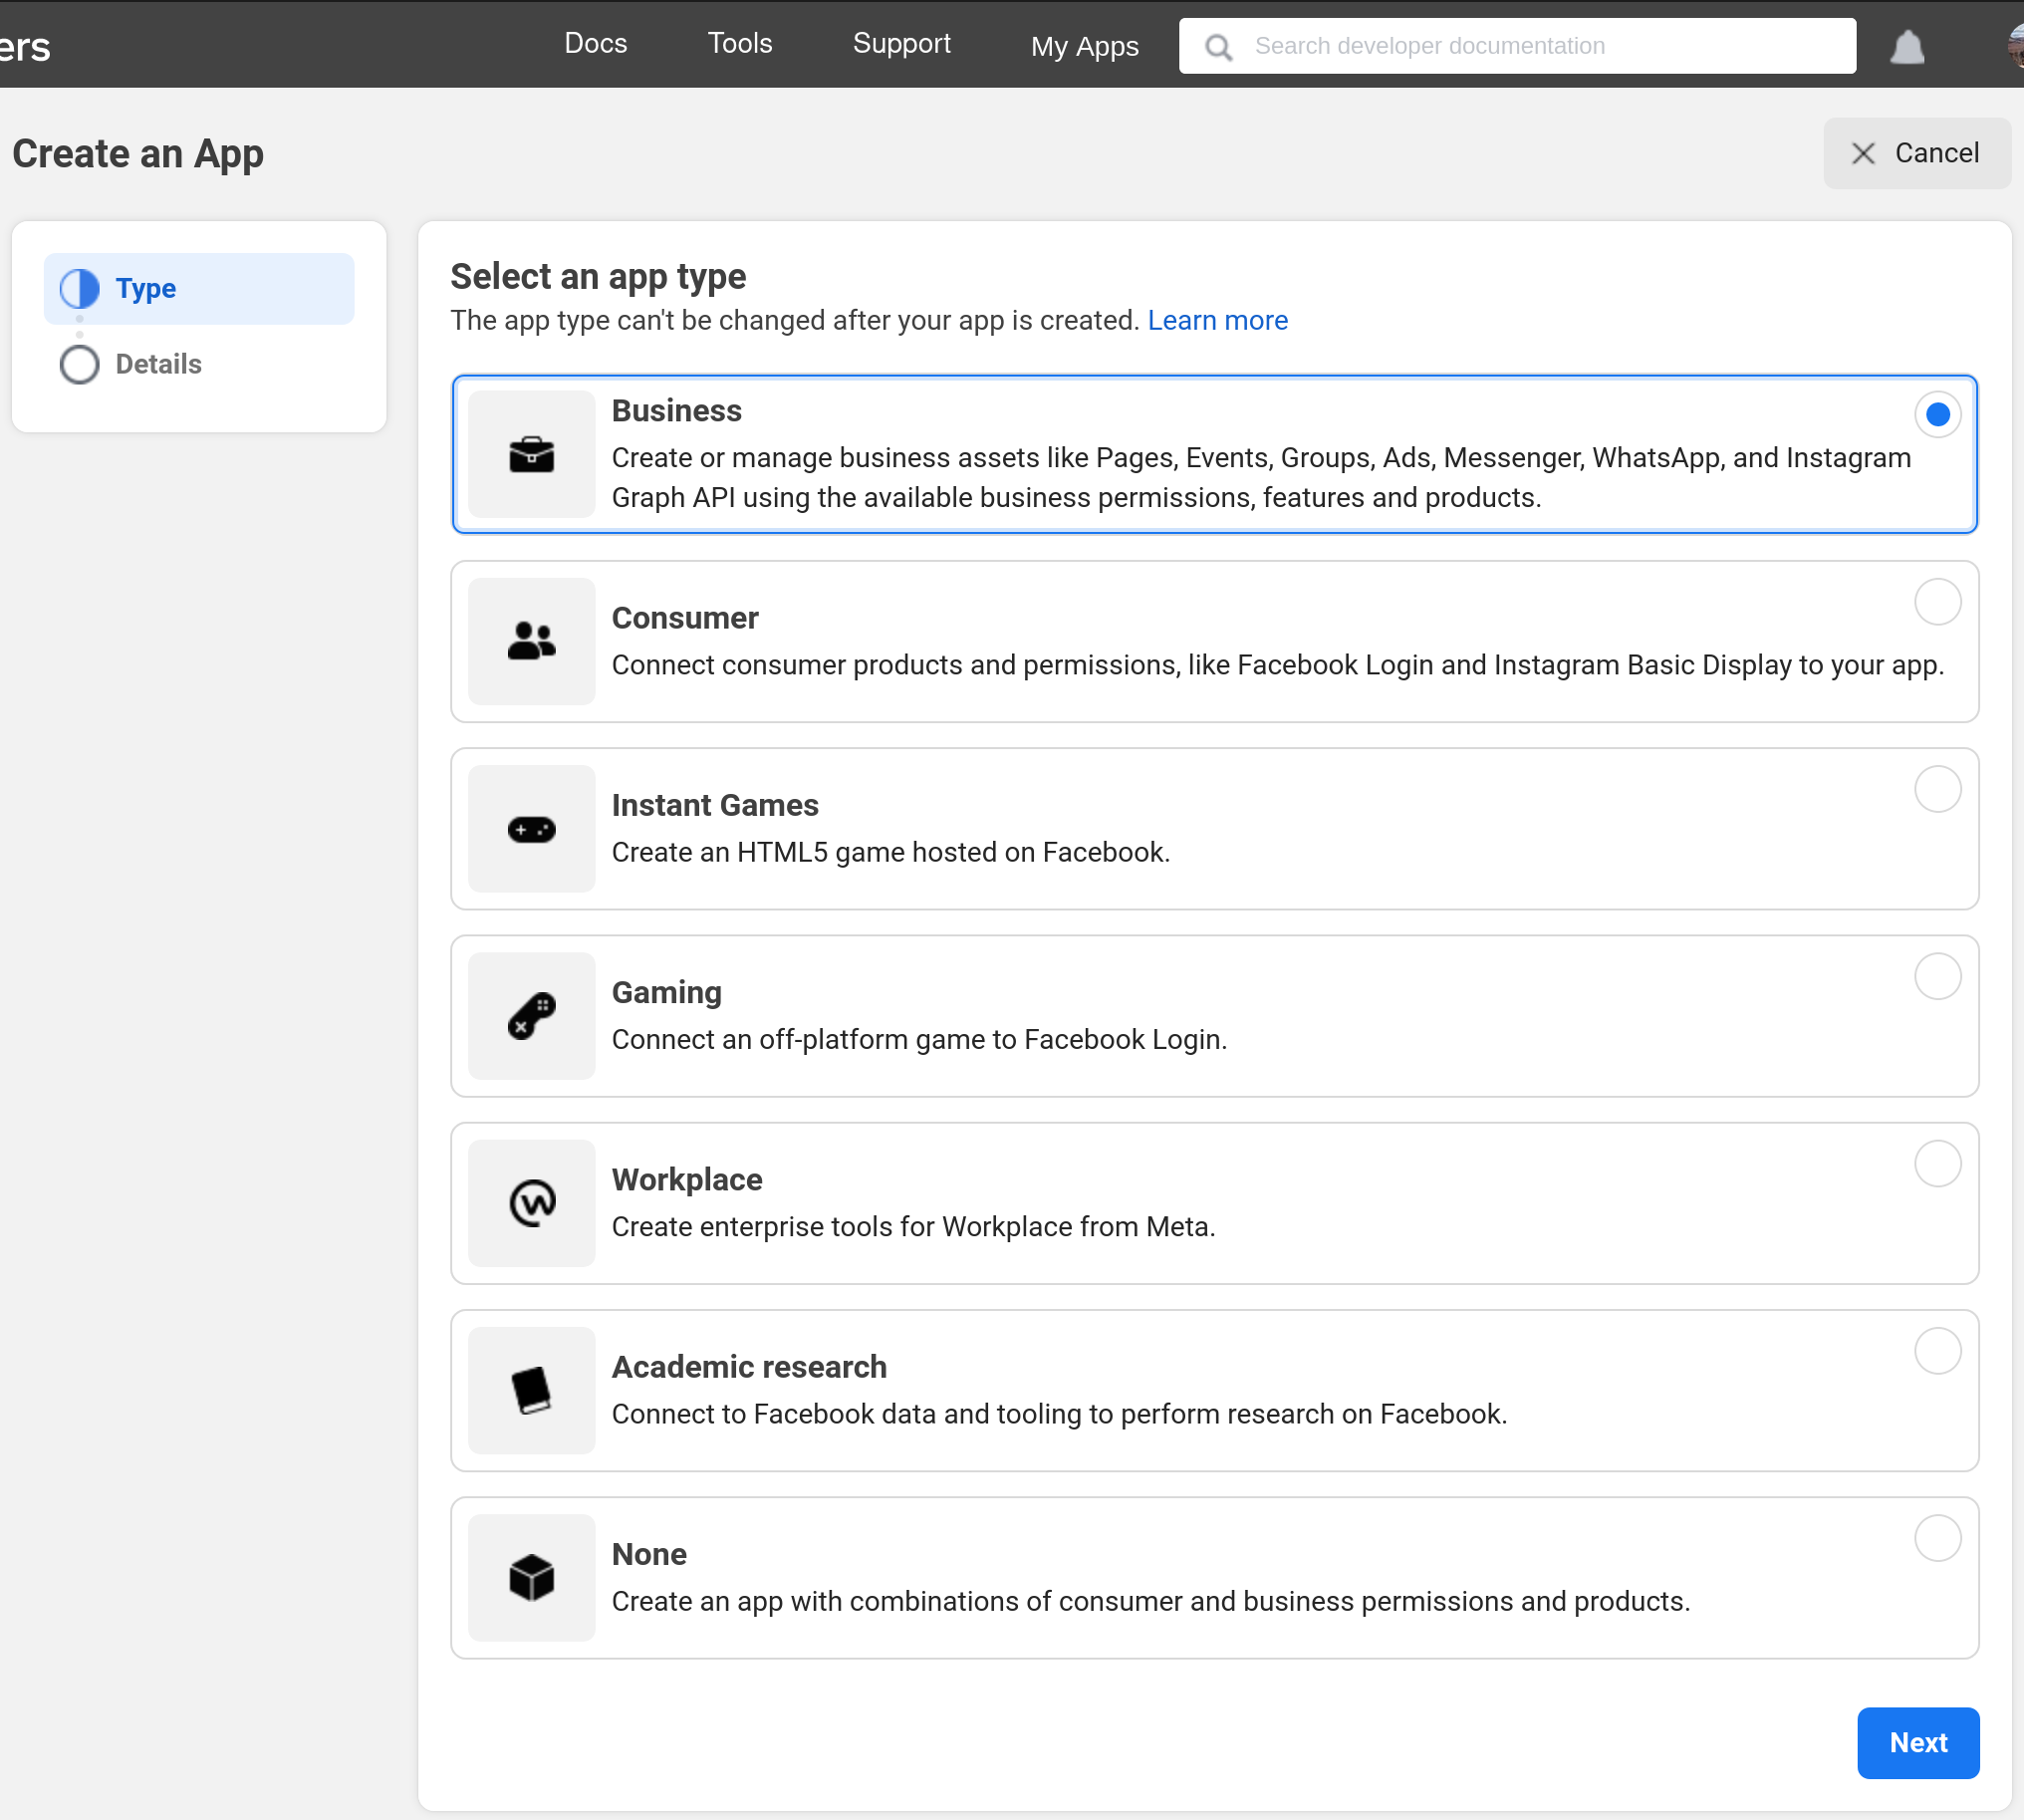
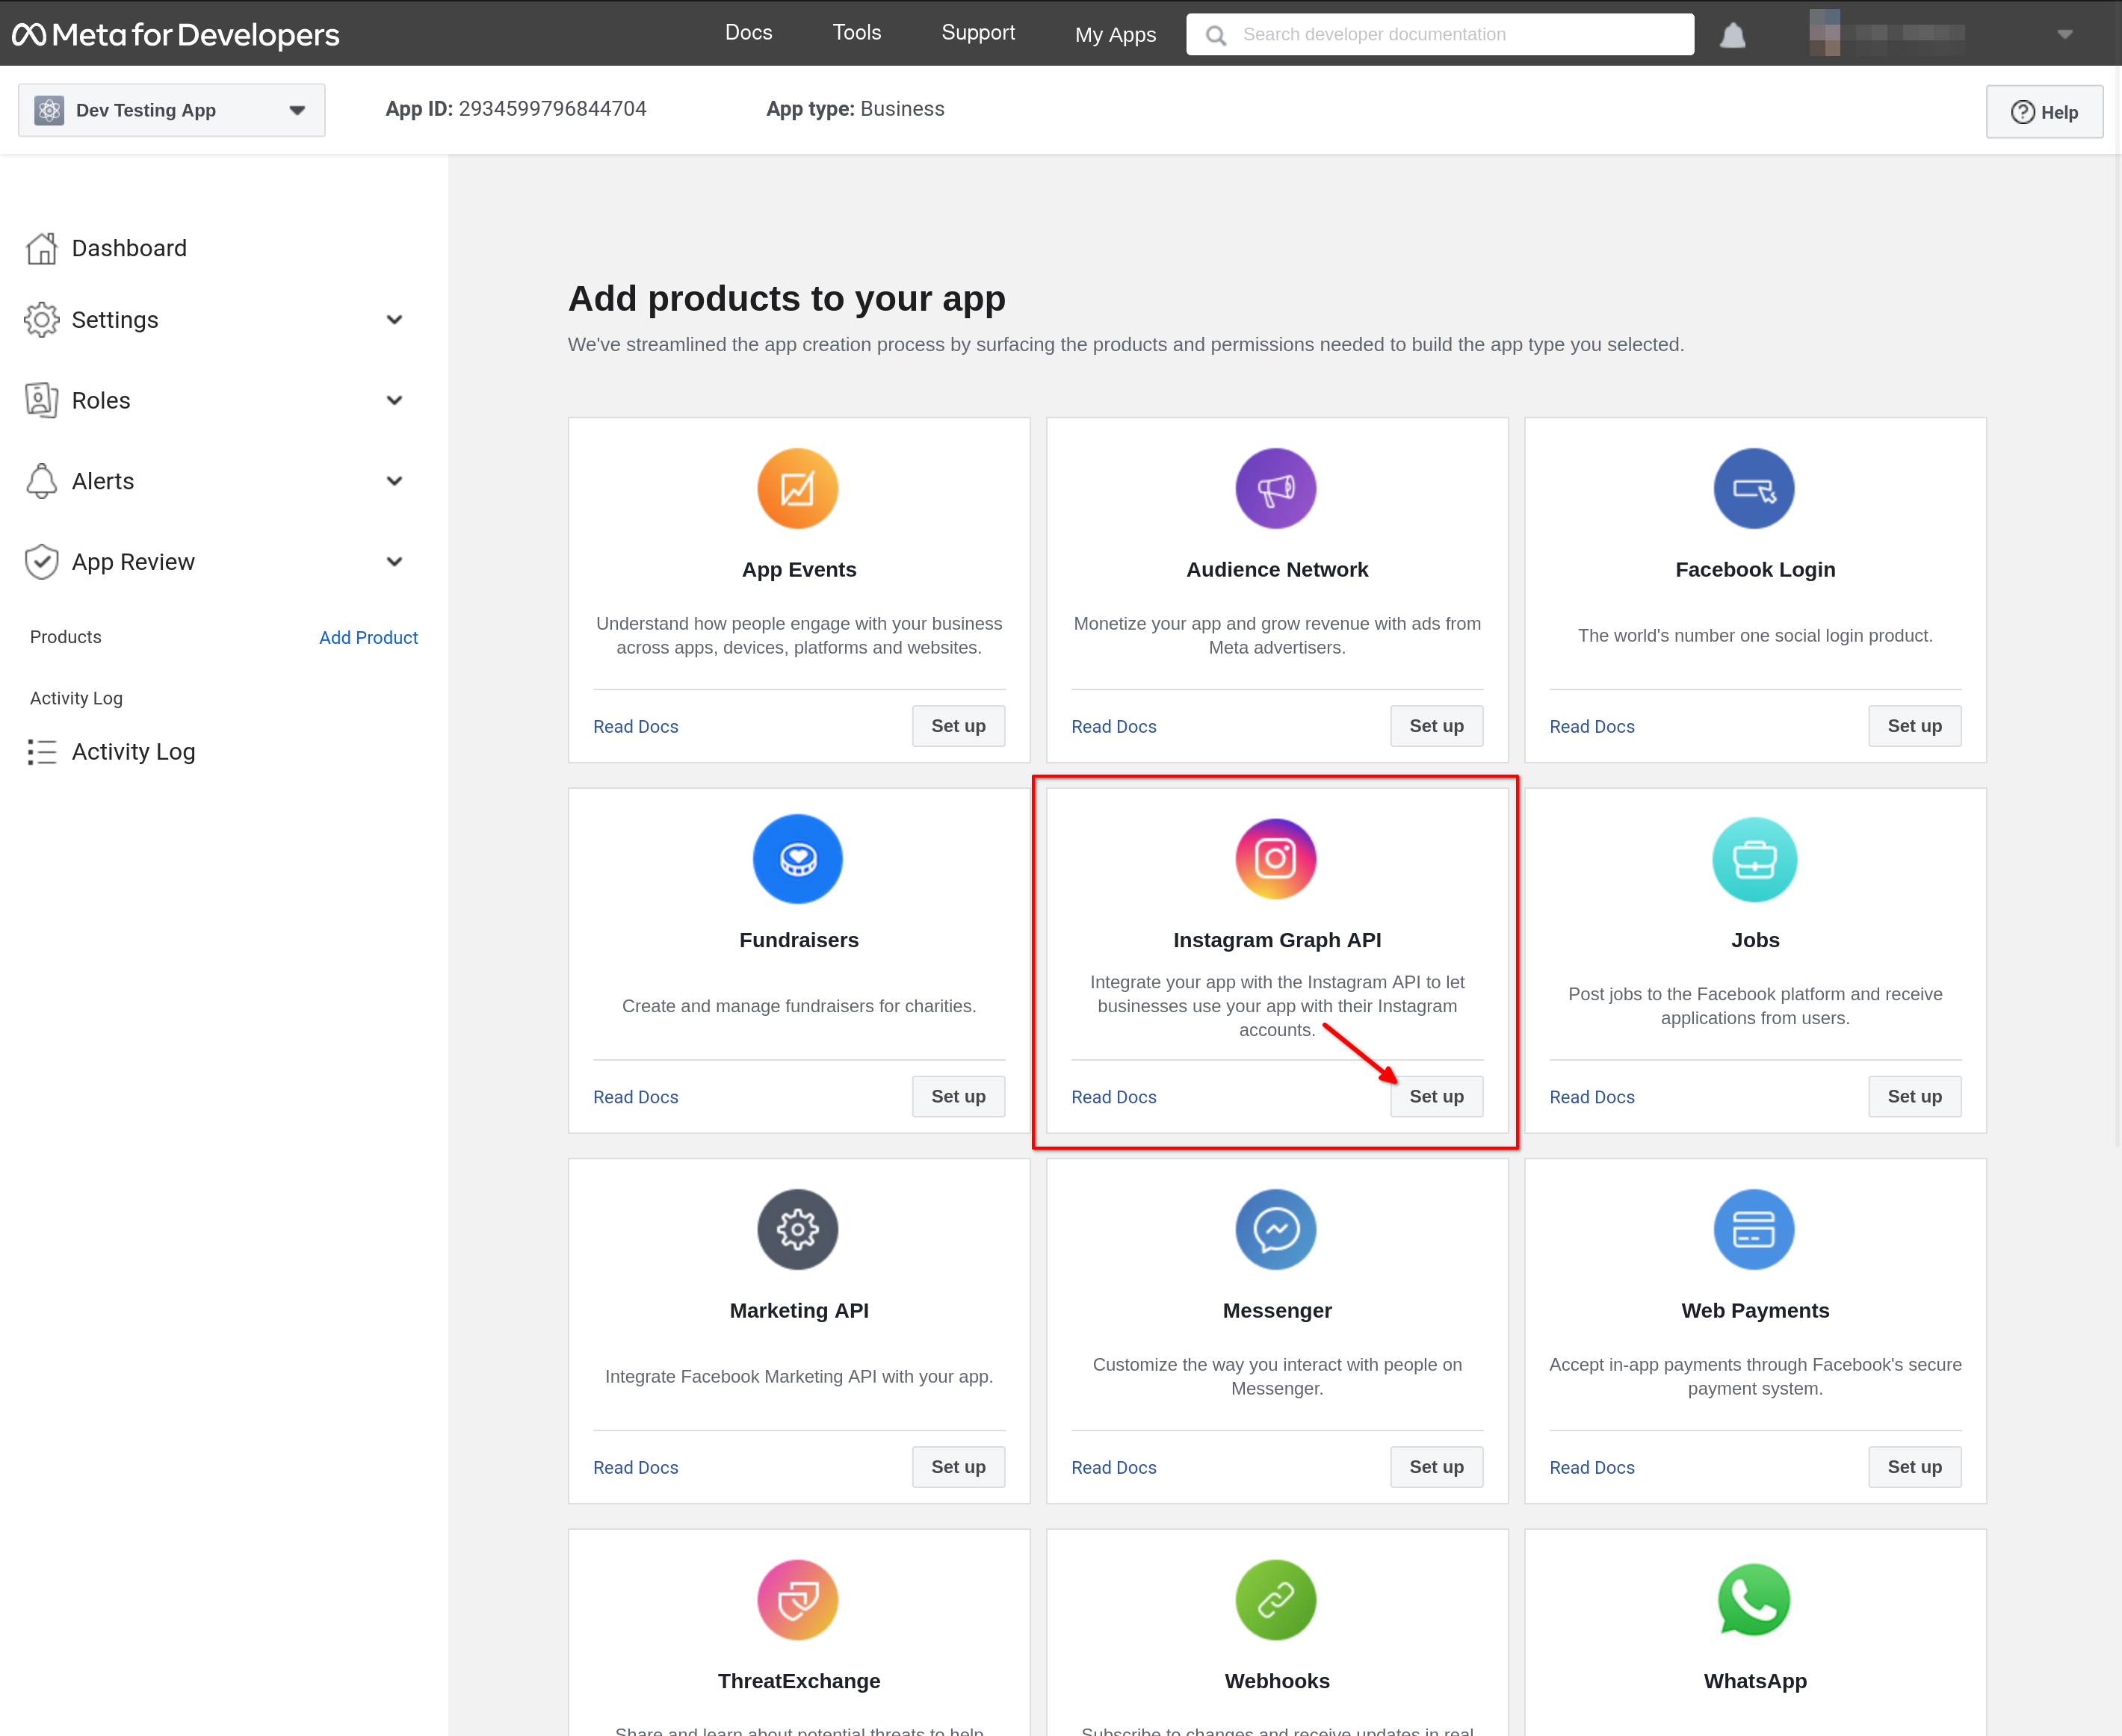
Select “Business”, enter name and contact e-mail, and finally, you should see various products to add to your app. Find Instagram Graph API, click “Set up”, and that's it for now.
Resources
Facebook is constantly changing their products, so it's possible that by the time you read this article, some flows are entirely different. You can refer to the following official resources, although in some cases these may also be outdated.
- Set Up a Business Account on Instagram
- Add or Change the Facebook Page Connected to Your Instagram Business Account – as of September 2022 this guide seems to be outdated; it describes the possibility to connect a Facebook page from Instagram side, but I didn't find the described functionality in Instagram's web interface.
- Instagram Graph API: Getting Started