- Published on
Build a contact form for Next.js website
Note: This article references SDK functionality that is no longer offered by Superface.
Most websites have a contact page where you can send a message to reach the owner. They look something like this:
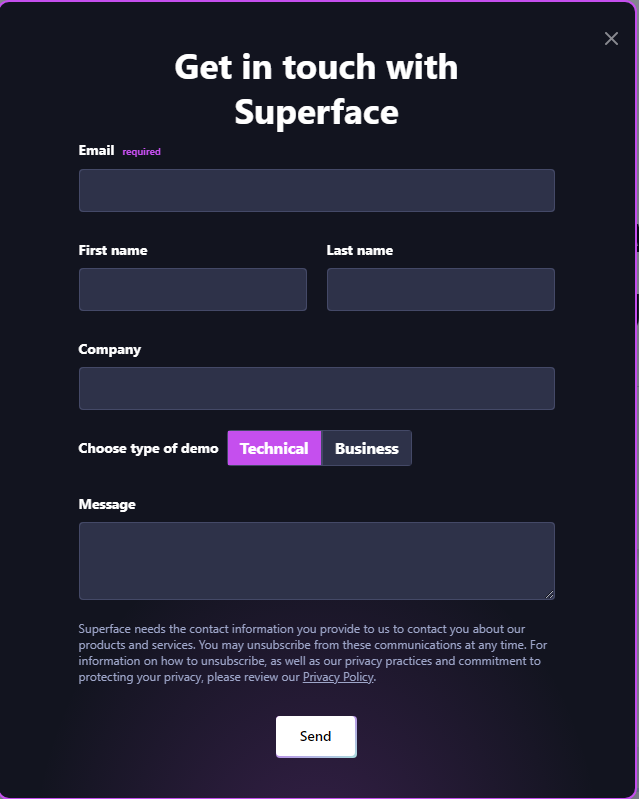
In this article, we will create a similar form with React in Next.js. First, I will create a front-end part with the form, and then I will build an API route which will send the form to your email.
Setting up the application
First, let’s create a new Next.js project. We will create it in a contact-form folder, with JavaScript and ESLint enabled:
npx create-next-app contact-form --js --eslint
This will create the folder and installs all the dependencies.
Now enter the folder (cd contact-form) and start the development server:
npm run dev
Visit http://localhost:3000 to check the running application.
Creating the form
The main file where we are going to make changes is pages/index.js. Remove the original code inside the file and paste the following code:
import React from 'react';

export default function Home() {
  return (
    <form className="container">
      <h1>Get in touch</h1>
      <div className="email block">
        <label htmlFor="frm-email">Email</label>
        <input
          id="frm-email"
          type="email"
          name="email"
          autoComplete="email"
          required
        />
      </div>
      <div className="block phone">
        <label htmlFor="frm-phone">Phone</label>
        <input
          id="frm-phone"
          type="text"
          name="phone"
          autoComplete="tel"
          required
        />
      </div>
      <div className="name block">
        <div>
          <label htmlFor="frm-first">First Name</label>
          <input
            id="frm-first"
            type="text"
            name="first"
            autoComplete="given-name"
            required
          />
        </div>
        <div>
          <label htmlFor="frm-last">Last Name</label>
          <input
            id="frm-last"
            type="text"
            name="last"
            autoComplete="family-name"
            required
          />
        </div>
      </div>
      <div className="message block">
        <label htmlFor="frm-message">Message</label>
        <textarea id="frm-message" rows="6" name="message"></textarea>
      </div>
      <div className="button block">
        <button type="submit">Submit</button>
      </div>
    </form>
  );
}
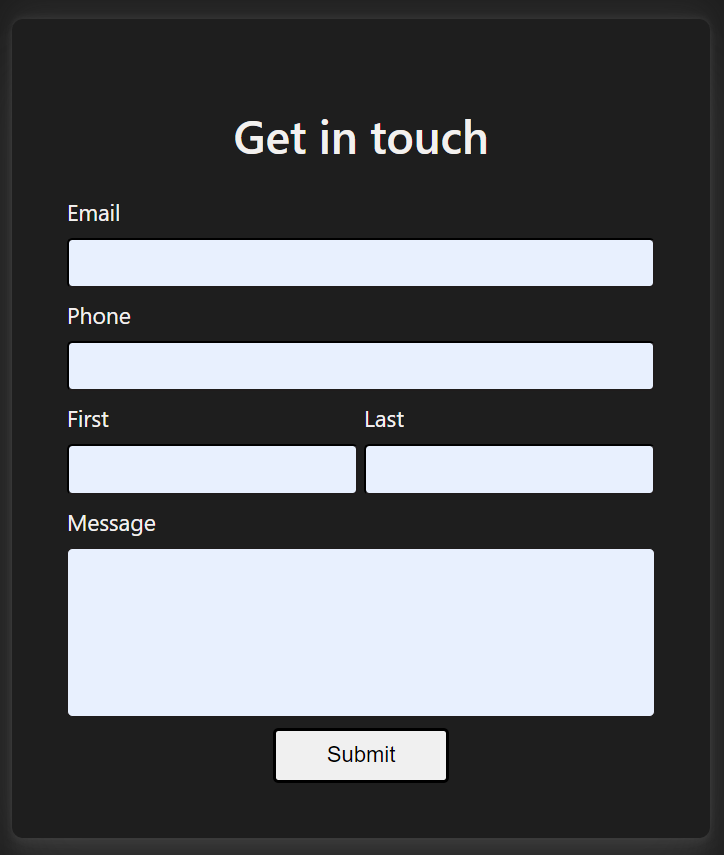
This code creates a form with the following fields:
- first name
- last name
- phone number
- message
All fields are required except for the message.
To add style to the form, replace the contents of styles/globals.css file with the following code:
html,
body {
  padding: 0;
  margin: 0;
  font-family: -apple-system, BlinkMacSystemFont, Segoe UI, Roboto, Oxygen, Ubuntu,
    Cantarell, Fira Sans, Droid Sans, Helvetica Neue, sans-serif;
  background: #1e1e1e;
  min-height: 100vh;
  display: flex;
  color: rgb(243, 241, 239);
  justify-content: center;
  align-items: center;
}

.block {
  display: flex;
  flex-direction: column;
}

.name {
  display: flex;
  flex-direction: row;
  justify-content: space-between;
}

.container {
  font-size: 1.3rem;
  border-radius: 10px;
  width: 85%;
  padding: 50px;
  box-shadow: 0 54px 55px rgb(78 78 78 / 25%), 0 -12px 30px rgb(78 78 78 / 25%),
    0 4px 6px rgb(78 78 78 / 25%), 0 12px 13px rgb(78 78 78 / 25%),
    0 -3px 5px rgb(78 78 78 / 25%);
}

.container input {
  font-size: 1.2rem;
  margin: 10px 0 10px 0px;
  border-color: rgb(31, 28, 28);
  padding: 10px;
  border-radius: 5px;
  background-color: #e8f0fe;
}

.container textarea {
  margin: 10px 0 10px 0px;
  padding: 5px;
  border-color: rgb(31, 28, 28);
  border-radius: 5px;
  background-color: #e8f0fe;
  font-size: 20px;
}

.container h1 {
  text-align: center;
  font-weight: 600;
}

.name div {
  display: flex;
  flex-direction: column;
}

.block button {
  padding: 10px;
  font-size: 20px;
  width: 30%;
  border: 3px solid black;
  border-radius: 5px;
}

.button {
  display: flex;
  align-items: center;
}

textarea {
  resize: none;
}
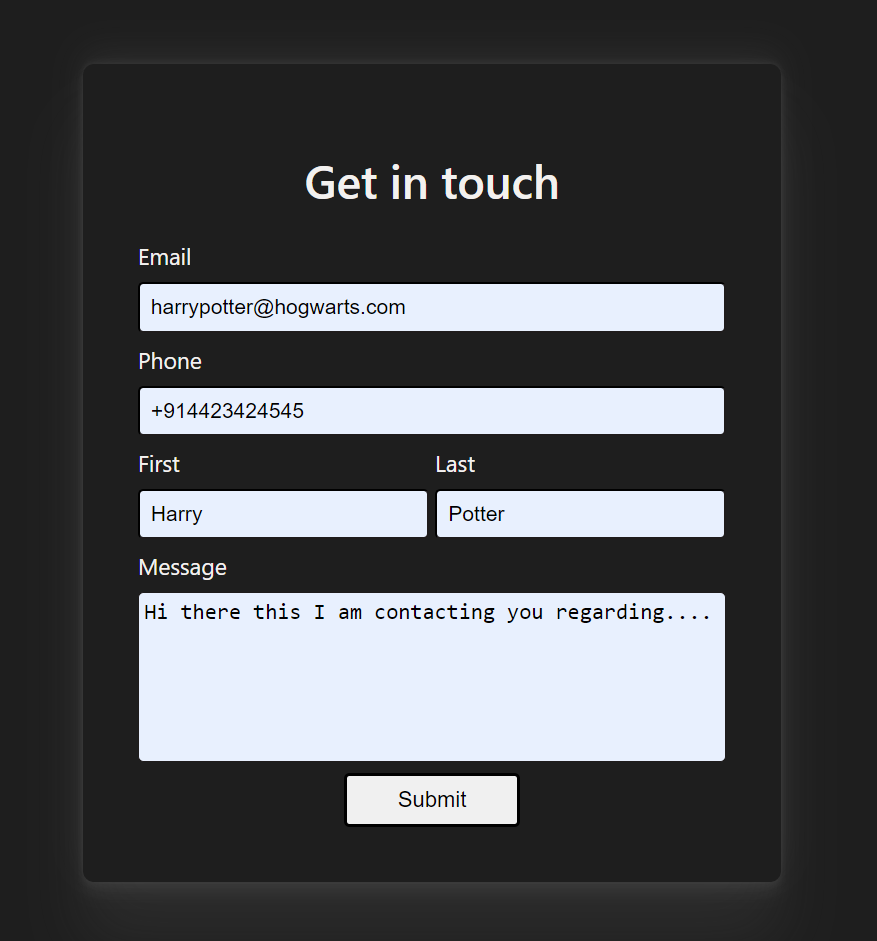
Our form should look something like this:
Now we need to find a way to store the input entered by the user. I will use FormData which is natively supported in all current browsers. It loads fields from the form, so they can be then submitted to the server.
Inside the pages/index.js file, paste the following code (notice the new handleSubmit function):
import React from 'react';

export default function Home() {
  async function handleSubmit(e) {
    e.preventDefault();
    const data = new FormData(e.currentTarget);
    console.log(data);
  }

  return (
    <form className="container" onSubmit={handleSubmit}>
      <h1>Get in touch</h1>
      <div className="email block">
        <label htmlFor="frm-email">Email</label>
        <input
          id="frm-email"
          type="email"
          name="email"
          autoComplete="email"
          required
        />
      </div>
      <div className="block phone">
        <label htmlFor="frm-phone">Phone</label>
        <input
          id="frm-phone"
          type="text"
          name="phone"
          autoComplete="tel"
          required
        />
      </div>
      <div className="name block">
        <div>
          <label htmlFor="frm-first">First Name</label>
          <input
            id="frm-first"
            type="text"
            name="first"
            autoComplete="given-name"
            required
          />
        </div>
        <div>
          <label htmlFor="frm-last">Last Name</label>
          <input
            id="frm-last"
            type="text"
            name="last"
            autoComplete="family-name"
            required
          />
        </div>
      </div>
      <div className="message block">
        <label htmlFor="frm-message">Message</label>
        <textarea id="frm-message" rows="6" name="message"></textarea>
      </div>
      <div className="button block">
        <button type="submit">Submit</button>
      </div>
    </form>
  );
}
Now when you attempt to submit the form, you should see FormData in developer console.
Submitting the form to API
We will submit the form data to the API with fetch – no need for additional dependencies.
The form submission logic goes to the handleSubmit function. Here is the complete code in pages/index.js:
import React from 'react';

export default function Home() {
  async function handleSubmit(e) {
    e.preventDefault();
    const data = new FormData(e.currentTarget);
    try {
      const response = await fetch('/api/contact', {
        method: 'post',
        body: new URLSearchParams(data),
      });
      if (!response.ok) {
        throw new Error(`Invalid response: ${response.status}`);
      }
      alert('Thanks for contacting us, we will get back to you soon!');
    } catch (err) {
      console.error(err);
      alert("We can't submit the form, try again later?");
    }
  }

  return (
    <form className="container" onSubmit={handleSubmit}>
      <h1>Get in touch</h1>
      <div className="email block">
        <label htmlFor="frm-email">Email</label>
        <input
          id="frm-email"
          type="email"
          name="email"
          autoComplete="email"
          required
        />
      </div>
      <div className="block phone">
        <label htmlFor="frm-phone">Phone</label>
        <input
          id="frm-phone"
          type="tel"
          name="phone"
          autoComplete="tel"
          required
        />
      </div>
      <div className="name block">
        <div>
          <label htmlFor="frm-first">First Name</label>
          <input
            id="frm-first"
            type="text"
            name="first"
            autoComplete="given-name"
            required
          />
        </div>
        <div>
          <label htmlFor="frm-last">Last Name</label>
          <input
            id="frm-last"
            type="text"
            name="last"
            autoComplete="family-name"
            required
          />
        </div>
      </div>
      <div className="message block">
        <label htmlFor="frm-message">Message</label>
        <textarea id="frm-message" rows="6" name="message"></textarea>
      </div>
      <div className="button block">
        <button type="submit">Submit</button>
      </div>
    </form>
  );
}
The handleSubmit function sends data inside a POST request to the /api/contact route. We also wrap the FormData object in URLSearchParams to send data as application/x-www-form-urlencoded which is automatically decoded by Next.js API routes handler.
Handling form submission in the API route
Now we need to handle the form submission on the server. We are going to use Next.js API routes for that. API routes are located in pages/api folder. Let’s create pages/api/contact.js file which corresponds to the API route /api/contact.
First inside the pages/api/contact.js file paste the following code to test if we receive the data on the server.
export default function handler(req, res) {
  console.log(req.body);
  res.send(200);
}
Try submitting the form now, you should see the data logged on the terminal. And now we are getting to the juicy part.
Sending emails with SendGrid and Superface
When a user submits the contact form, we want to send the submitted information to the website owner. First, we need to pick some email providers and study their API and SDK. Or we can use Superface with any provider.
Superface makes API integrations super easy. We don’t have to deal with API docs, and I can use many providers behind the same interface. Furthermore, I can use more ready-made API use cases from the Superface catalog. It’s a tool worth having in your toolbox.
Set up SendGrid
I’m going to use SendGrid as an email provider with Superface. Create your account, get your API key with Full Access and verify Single Sender Verification.
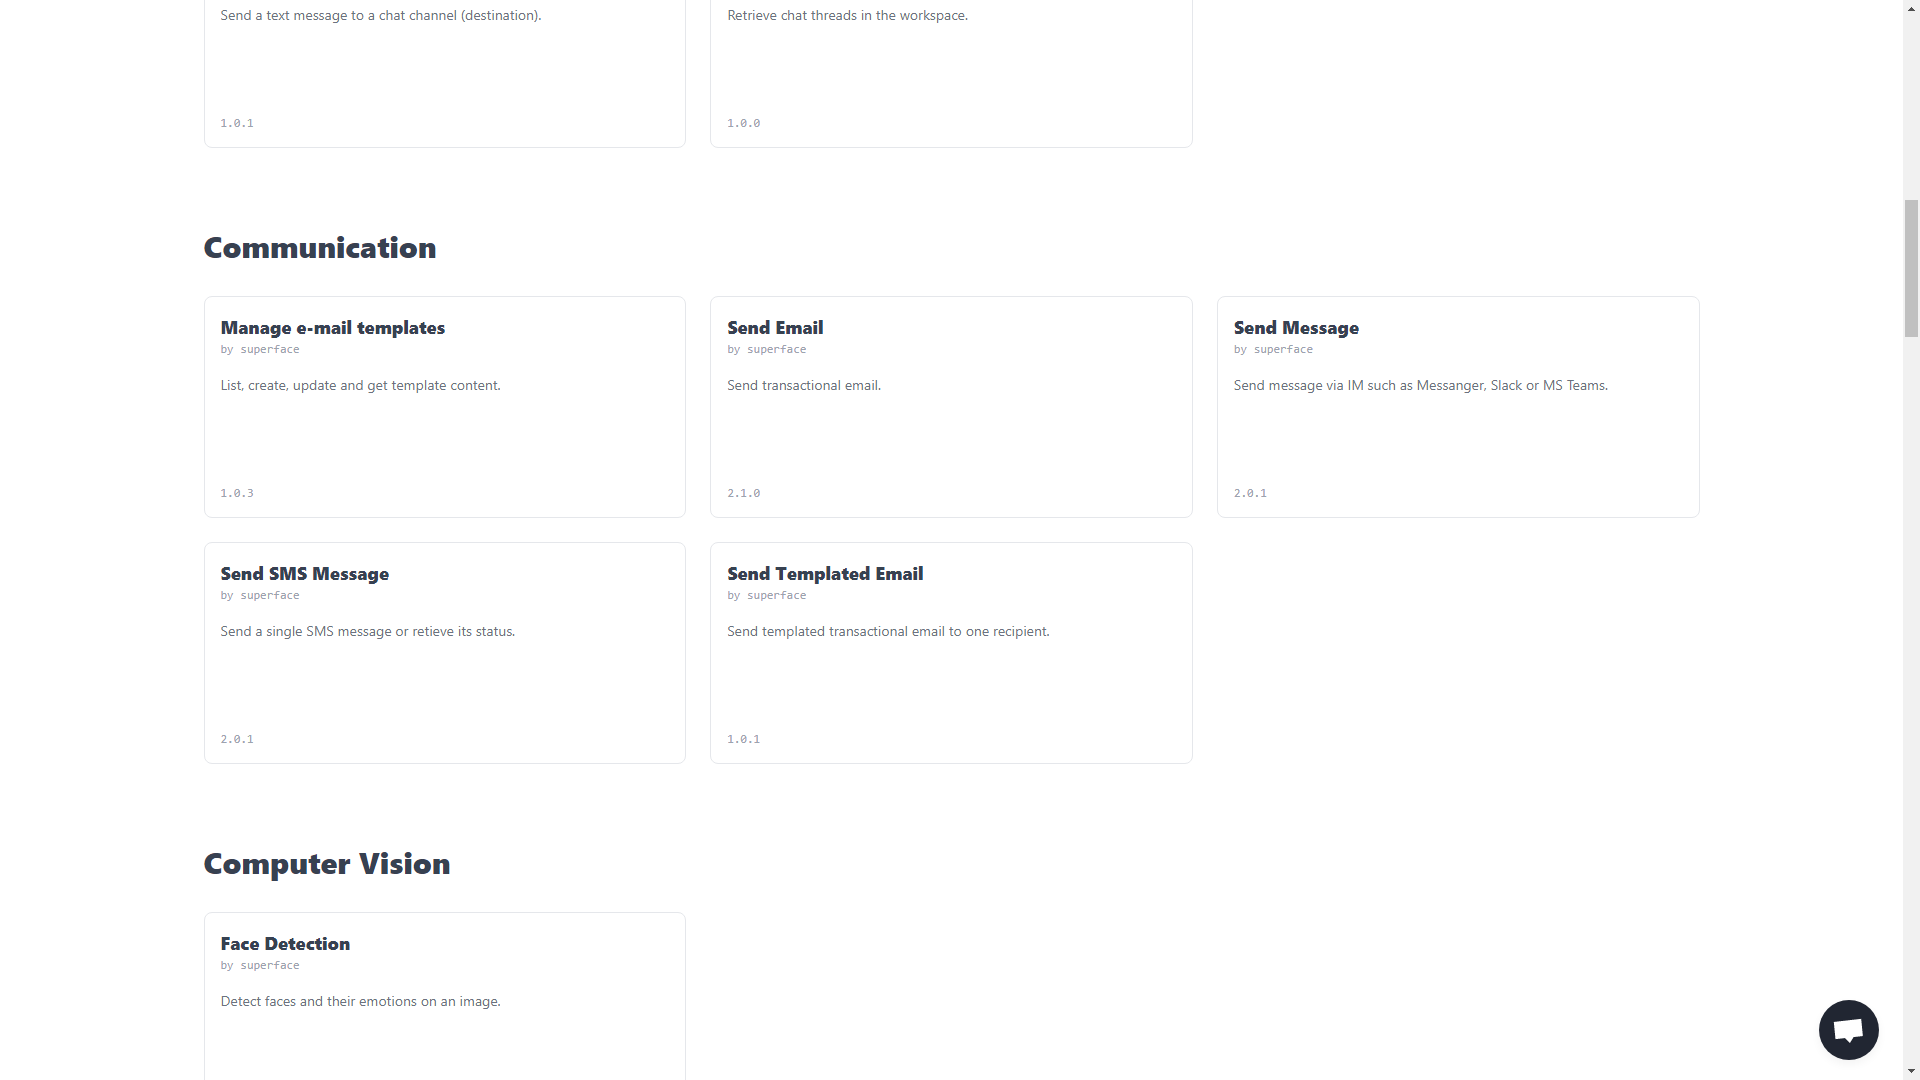
On Superface side, pick the use case, i.e.: Send Email.
Sending emails from the API route
Superface use cases are consumed with OneSDK, so we will have to install it.
npm i @superfaceai/one-sdk@2
On Superface in Send Email use case, select sendgrid as a provider. We can use most of the code from the example in our API route handler, we just need to pass data correctly from the request.
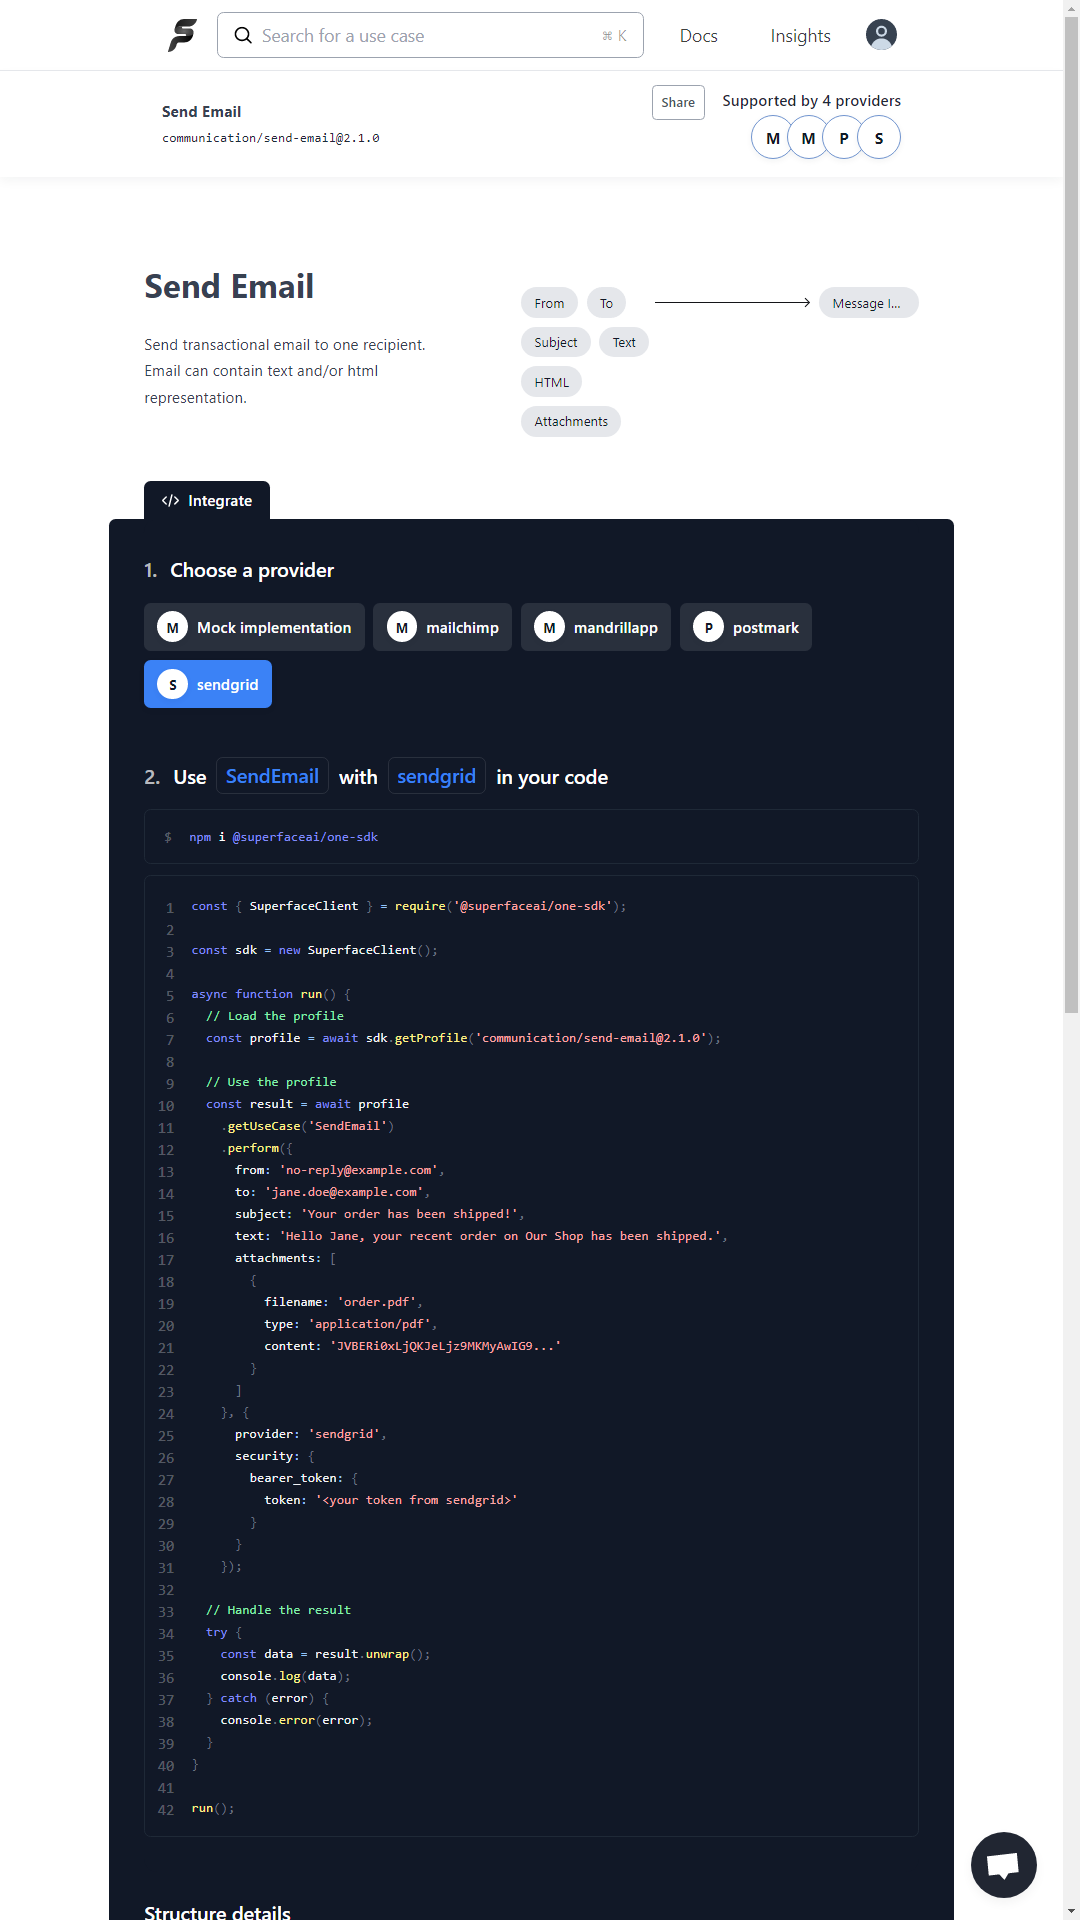
Paste the following code into your pages/api/contact.js file:
const { SuperfaceClient } = require('@superfaceai/one-sdk');

const sdk = new SuperfaceClient();

// Just check if all required fields are provided
function formValid(body) {
  return body.email && body.phone && body.first && body.last;
}

export default async function handler(req, res) {
  const body = req.body;

  if (!formValid(body)) {
    res.status(422).end();
    return;
  }

  const profile = await sdk.getProfile('communication/send-email@2.1.0');
  const message = `
    Email: ${body.email}
    Phone: ${body.phone}
    Name: ${body.first} ${body.last}
    Message: ${body.message}
    `;
  const result = await profile.getUseCase('SendEmail').perform(
    {
      from: process.env.FROM_EMAIL,
      to: process.env.TO_EMAIL,
      subject: 'Message from contact form',
      text: message,
    },
    {
      provider: 'sendgrid',
      security: {
        bearer_token: {
          token: process.env.SENDGRID_API_KEY,
        },
      },
    }
  );

  try {
    const data = result.unwrap();
    console.log(data);
    res.status(201).end();
  } catch (error) {
    console.error(error);
    res.status(500).end();
  }
}
You can notice that we are referring to some environment variables in the code (for example process.env.SENDGRID_TOKEN). We can store these in .env files. In the root of your project, create a .env.local file with the following contents (make sure to edit values):
# Email address verified in Single Sender Verification
FROM_EMAIL=from@example.com
# Email address where you want to send the submissions to
TO_EMAIL=to@example.com
# Sendgrid API key
SENDGRID_API_KEY=SG.abcdef...
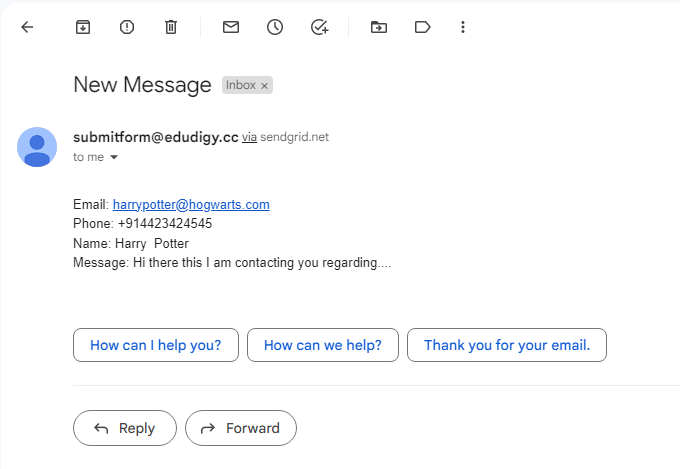
Our app is ready. Run (or restart) the development server with npm run dev and try to submit the form!
Conclusion
We have learned how to create a form in Next.js, submit the form with FormData and fetch, handle the submission in the API route and send it through an email.
Further possible improvements include adding CAPTCHA or honeypot fields to prevent spam submissions, improving form data validation with checks of phone and email address, format the submission as HTML, or providing a nicer feedback to the user upon submissions.